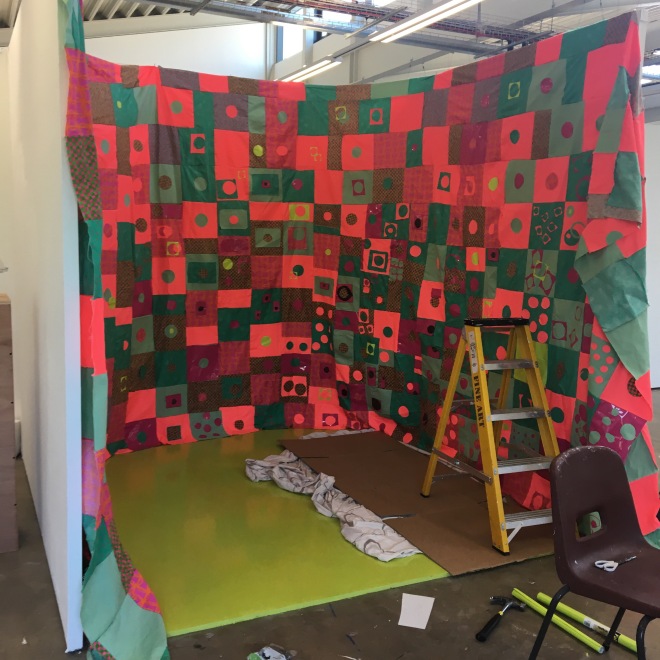
After waiting a day for the gloss to dry on my floor I was able to start hanging my patchwork up. I was apprehensive about this as I wasn’t sure how it would look in an enclosed space as I am so used to having it fully stretched out across 3 walls. To begin with I nailed it temporally to the walls to get an idea of the shape I wanted as I was certain that I didn’t want the patchwork to follow the natural shape of the walls as this could make the piece look like a wallpaper. Which isn’t the aesthetic I was going for. I made sure the fabric curved around the edges forming a rounded space. I felt this way I was able to manipulate the fabric into creating its own space, rather than following an already formed structure. Once I was happy with the shape I then staple gunned the fabric to the top of the walls making sure nothing hung over anyone else’s space.
Something I found a struggle were the edges of the fabric. I had a lot of excess fabric hanging over the entrance of my space that I didn’t want. I decided to cut this even though I was sceptical due to the amount of work I put into each patch but I am considering using the excess in frames for the degree show or to develop any patches that are looking bare. To neaten up the sides I then made sure the fabric was folded and then stapled. I will be covering the evidence of any staples with fabric circles or fablon. I will also need to add fablon to numerous squares on the patchwork as many fell off when manoeuvring.
Overall I am pleased with the way this is looking so far, I also feel that it sits well with the luminous green floor.